
Airwave Smart Safety Glasses User Manual
Everything you need to set up, charge, pair, and use your Airwave smart safety glasses.
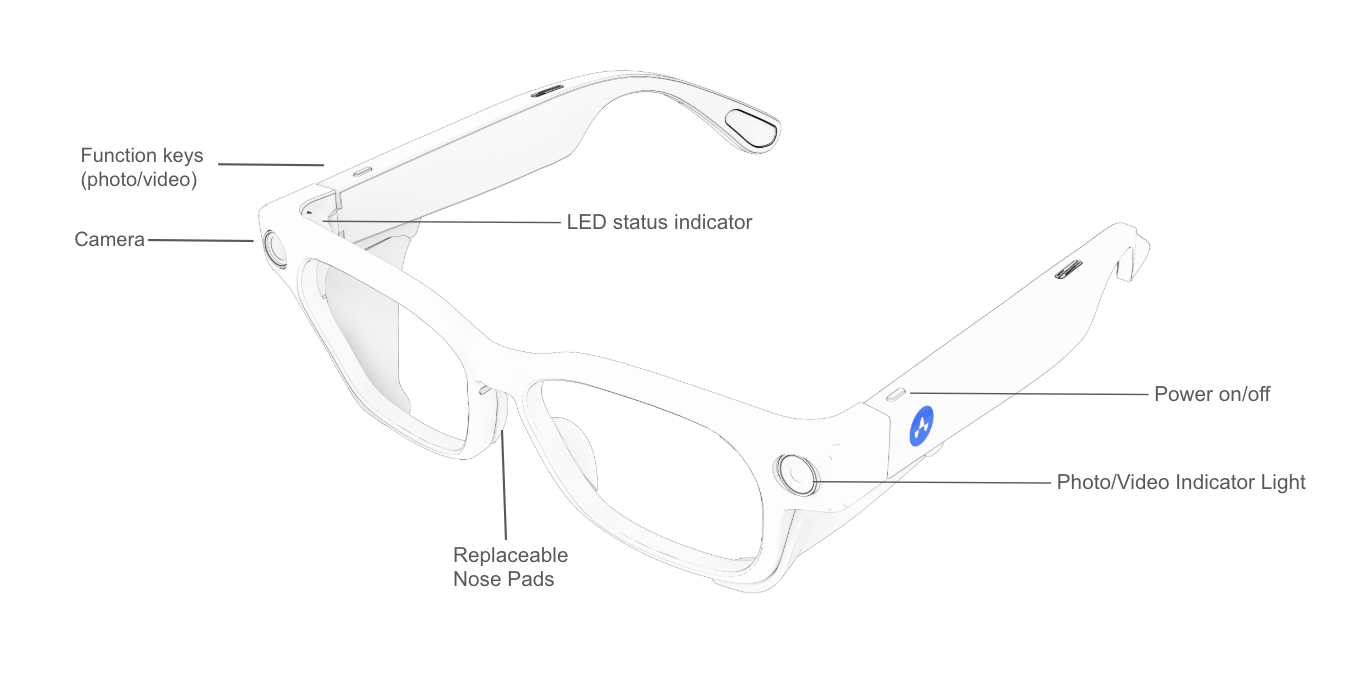
Hardware Specifications
- Product
- Airwave Safety-Rated Smart Glasses with Z87.1+ lenses and transparent side shields
- Dimensions
- 153.58mm × 164.21mm × 47.78mm
- Product weight
- 42.5g
- Main frame material
- TR90
- Lens material
- Z87.1+ lenses. Meets ANSI safety standard for high-impact resistance (ideal for construction / industrial use).
- Side shields
- Transparent, detachable.
- Prescription lenses
- Supported. Consult an optician for installation — do not attempt DIY modifications.
- Speaker
- 2 built-in speakers
- Microphone
- 5 microphones for noise reduction & echo suppression
- Camera
- 13 megapixels
- Charger
- USB-C (5W or higher recommended)
- Battery life
- ~8 hours with intermittent voice commands / calls + audio playback. ~1 hour of continuous video recording.
- ROM / RAM
- 32GB / 2GB
- Photo & video syncing
- Glasses sync over a direct (private) Wi-Fi connection with the mobile phone.
Power On / Off
To turn on
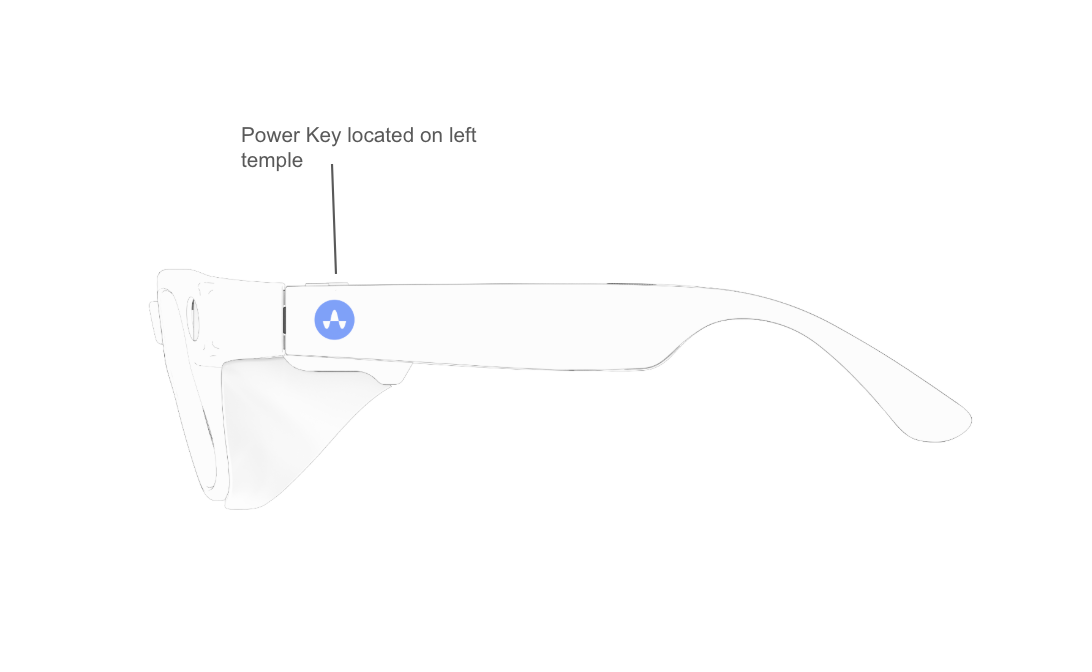
- Press and hold the power button on the top left arm for 3 seconds.
- The light will flash blue.
- When the blue light stops and you hear "system ready", the glasses are on and ready.
To turn off
- Press and hold the same button for 3 seconds.
- You'll hear "power off" and the glasses will shut down.
To restart
If your glasses aren't working right, try restarting them. Restarting will not erase any photos or videos, and your glasses will stay paired with the Airwave app.
- Press and hold the power button for 3 seconds to turn the glasses off.
- Wait 2 seconds.
- Press and hold the power button again for 3 seconds to turn them back on.
Charging
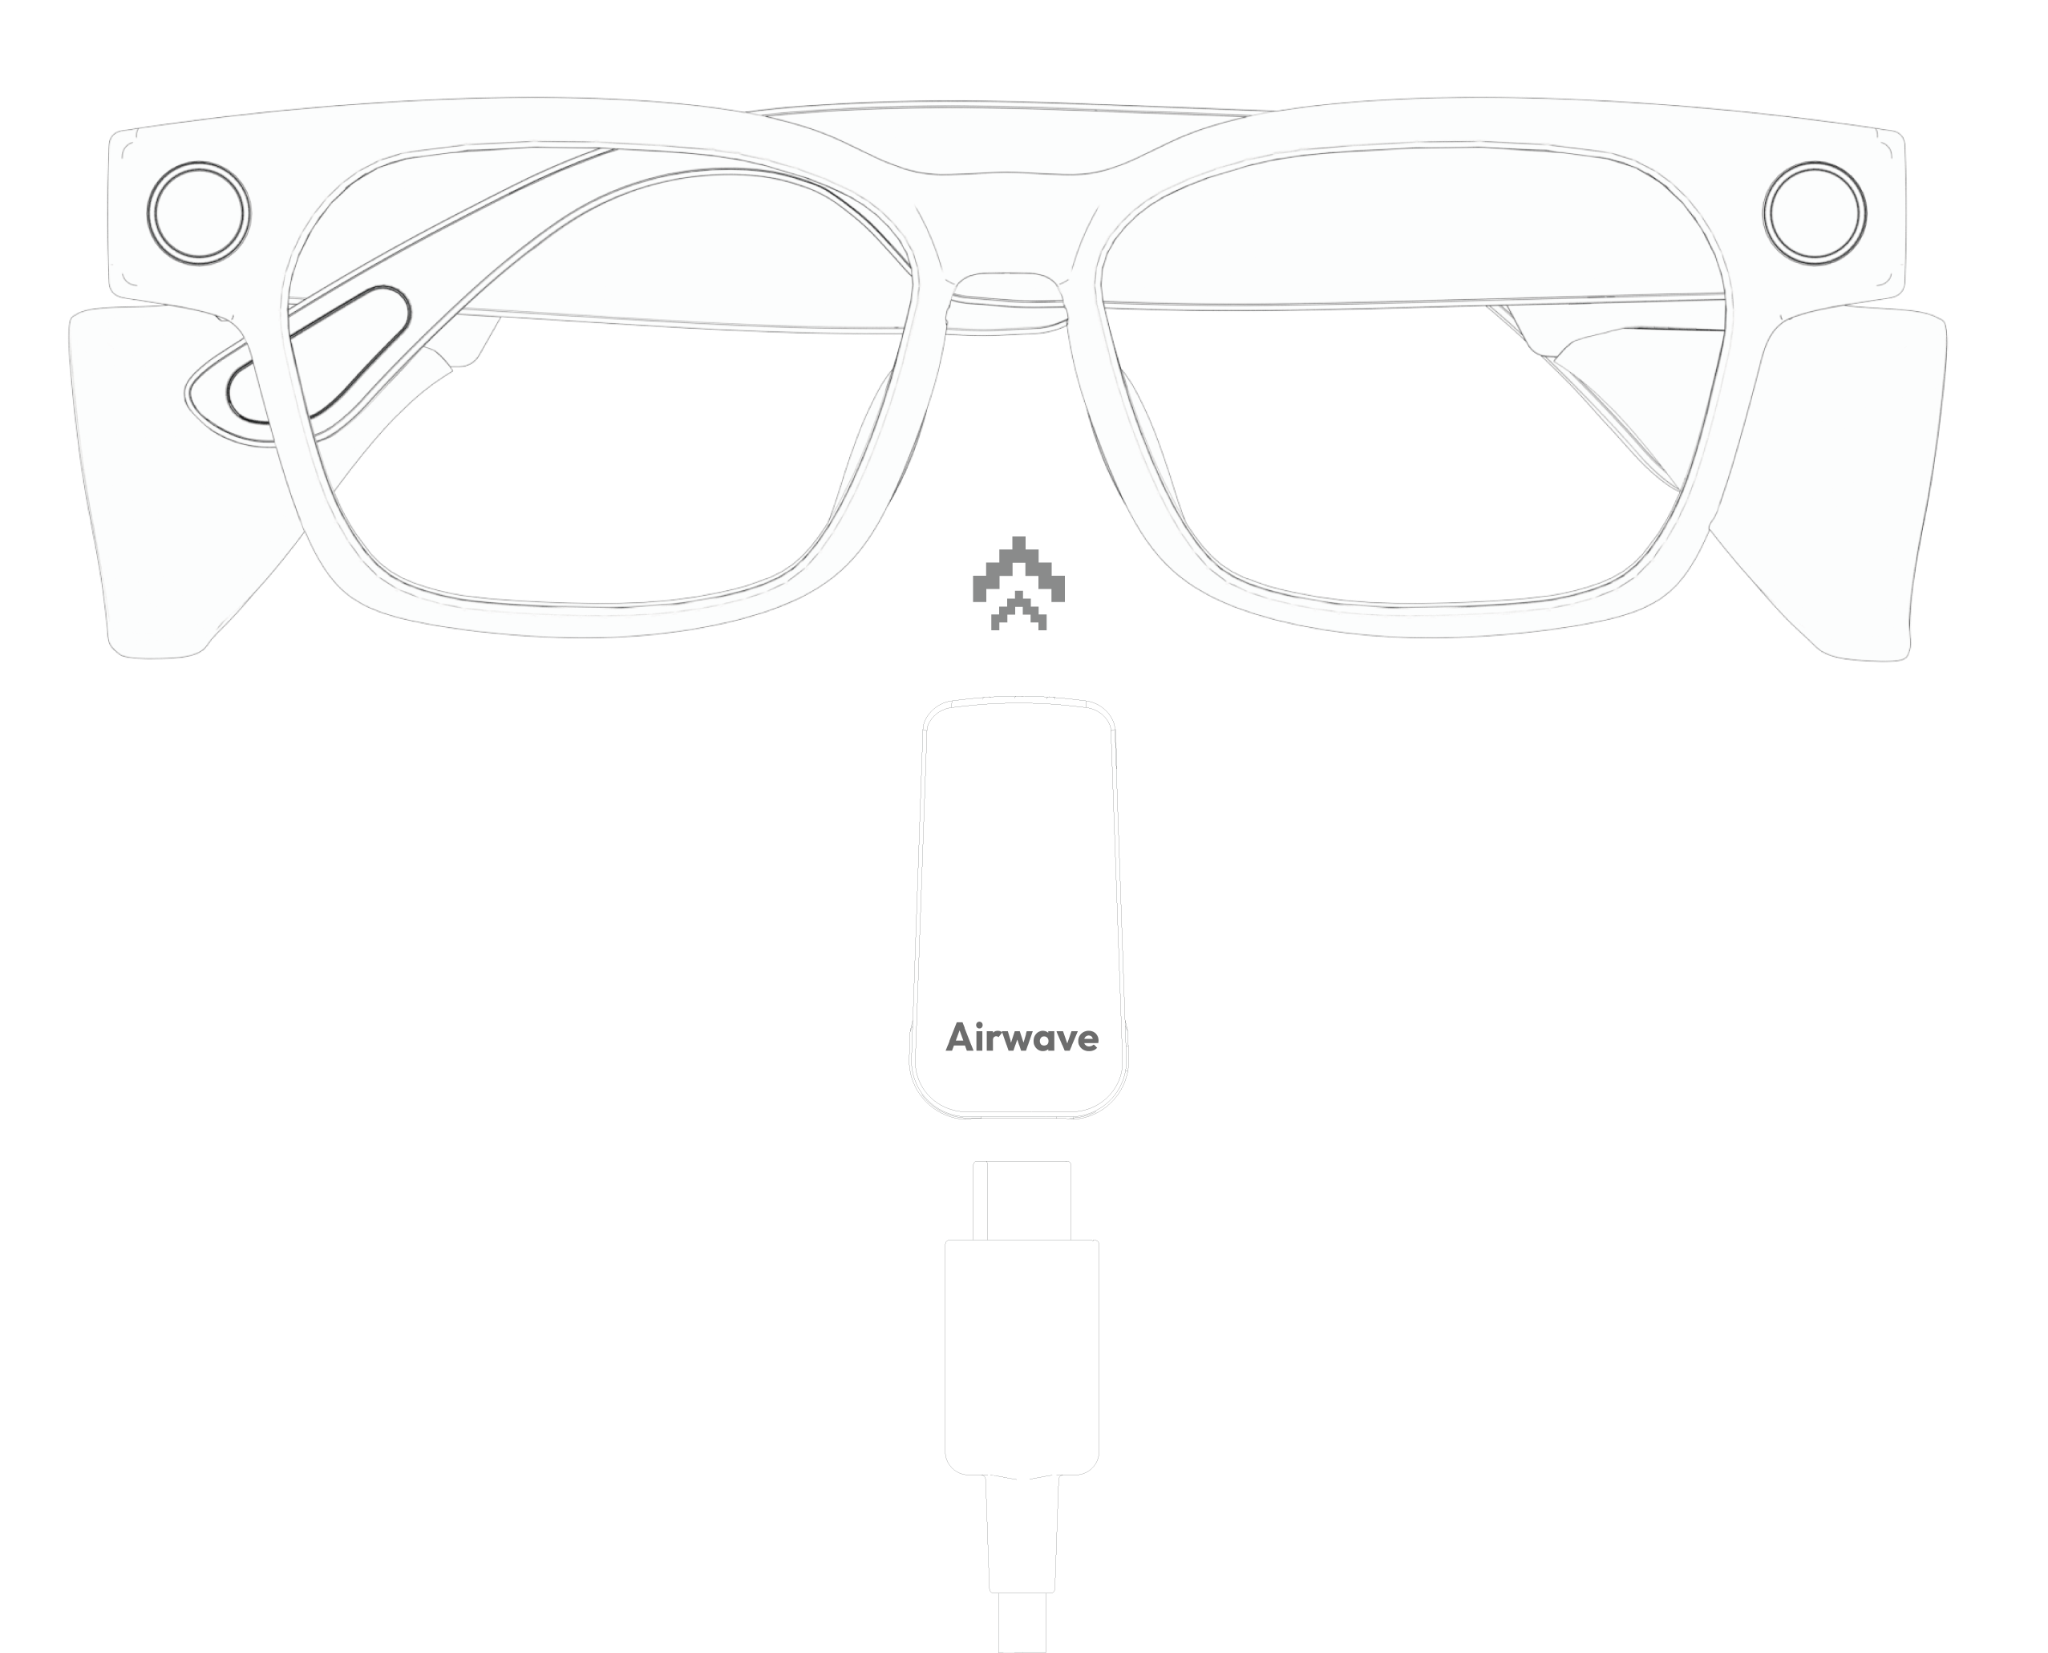
- Charging case: place the glasses into the charging case.
- Charging clip: connect the charging clip to the USB-C cable, then snap it onto the nose bridge of the glasses.
- A full charge via nose bridge takes 70 minutes.
- The charging case holds 6 charges and takes 2 hours to fully charge.
- The charging case charges the glasses from 0–100% in 70 minutes.
Pro Tip: The Airwave smart glasses come pre-charged and ready for use.
Charging indicators (glasses and case)
- Red: charging (located on left arm for the glasses)
- Green: fully charged
If glasses do not charge:
- Wipe the contacts dry and clean, then reconnect the charger.
- Try a different USB-C cable or charger.
Pro Tip: Place them in the charging case when you're not using them so they'll be ready for your next job.
Bluetooth Pairing
Before setting up your glasses with Airwave, you'll need to connect them to your mobile phone.
- Take the glasses out of the case.
- Press and hold the power button for 3 seconds to turn on.
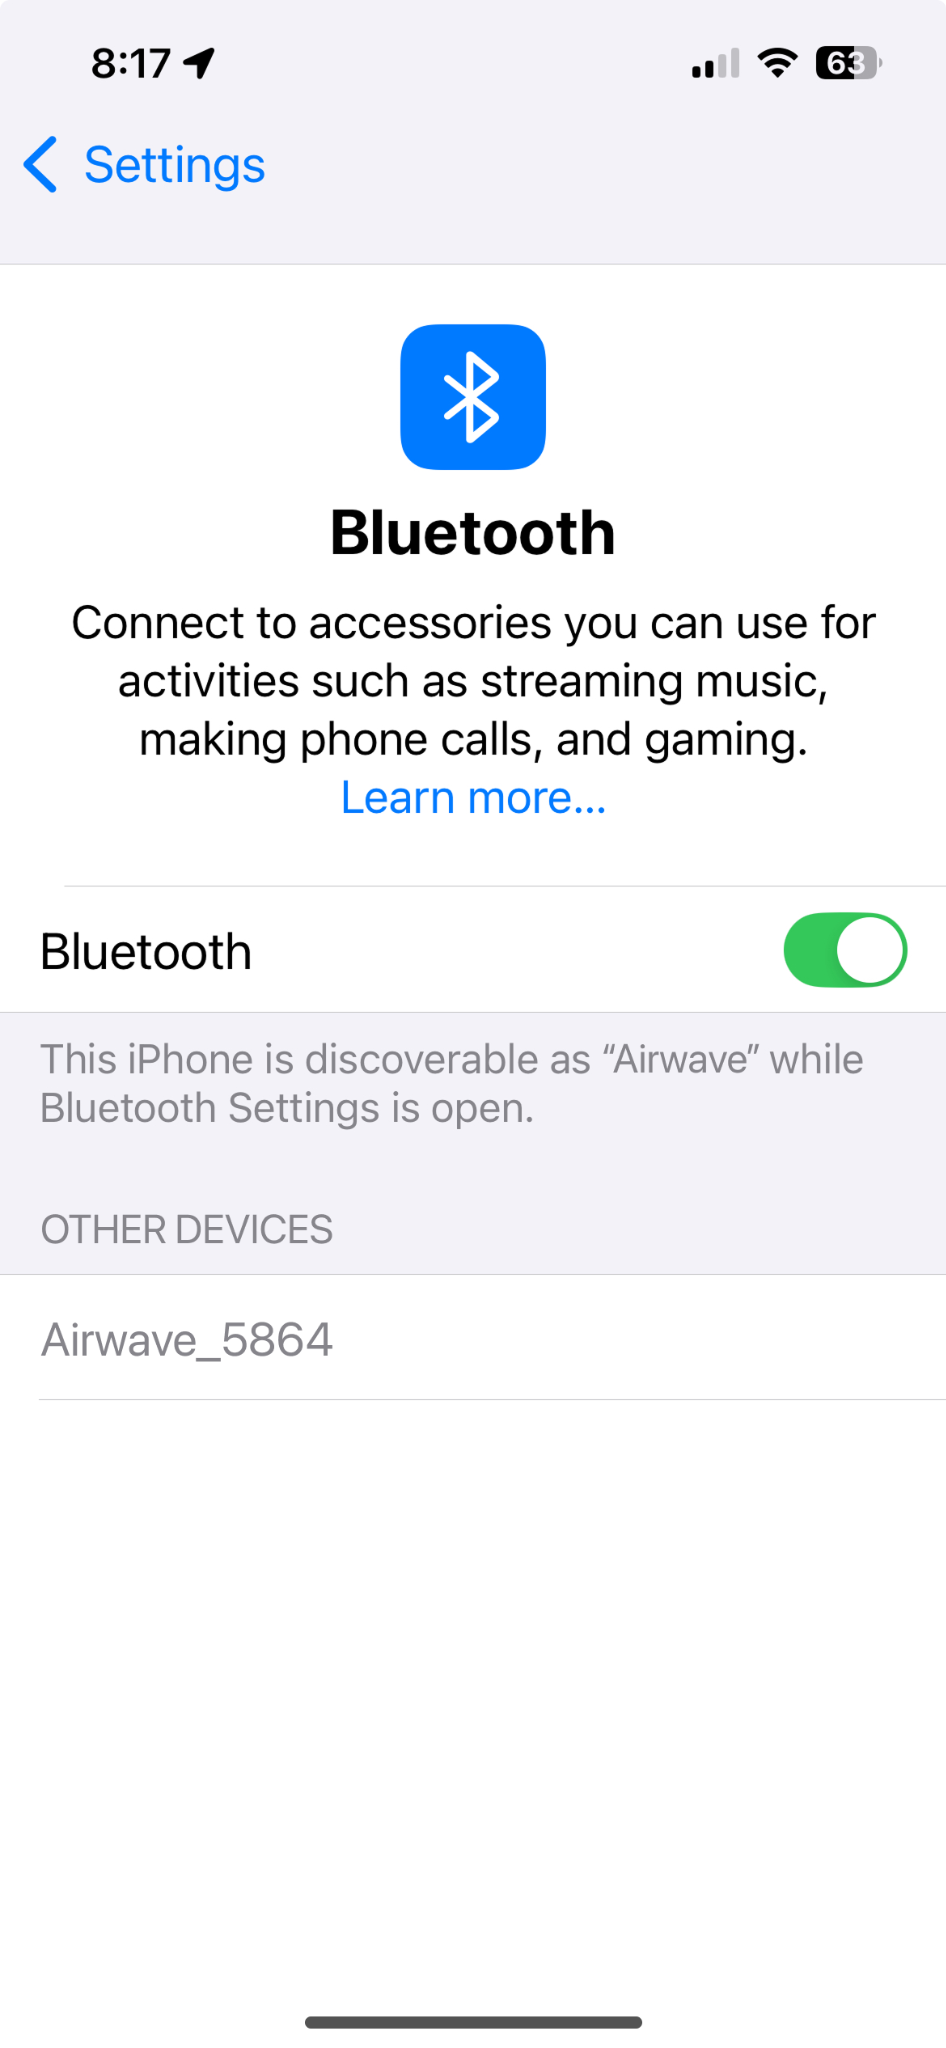
- When you hear "System Ready", open the Bluetooth settings on your phone.
- Find Airwave_XXXX under devices and tap to connect. Your device's unique name is printed on the sticker on the outside of the box.
Pro Tip: Once paired to your mobile phone, your glasses will also work as a hands-free headset. You can listen to music, watch movies, make phone calls, and more.
Connect with Airwave
Download Airwave AI (3 options)
- Go to the app store.
- Go to www.airwave.us/download.
- Scan the QR code.
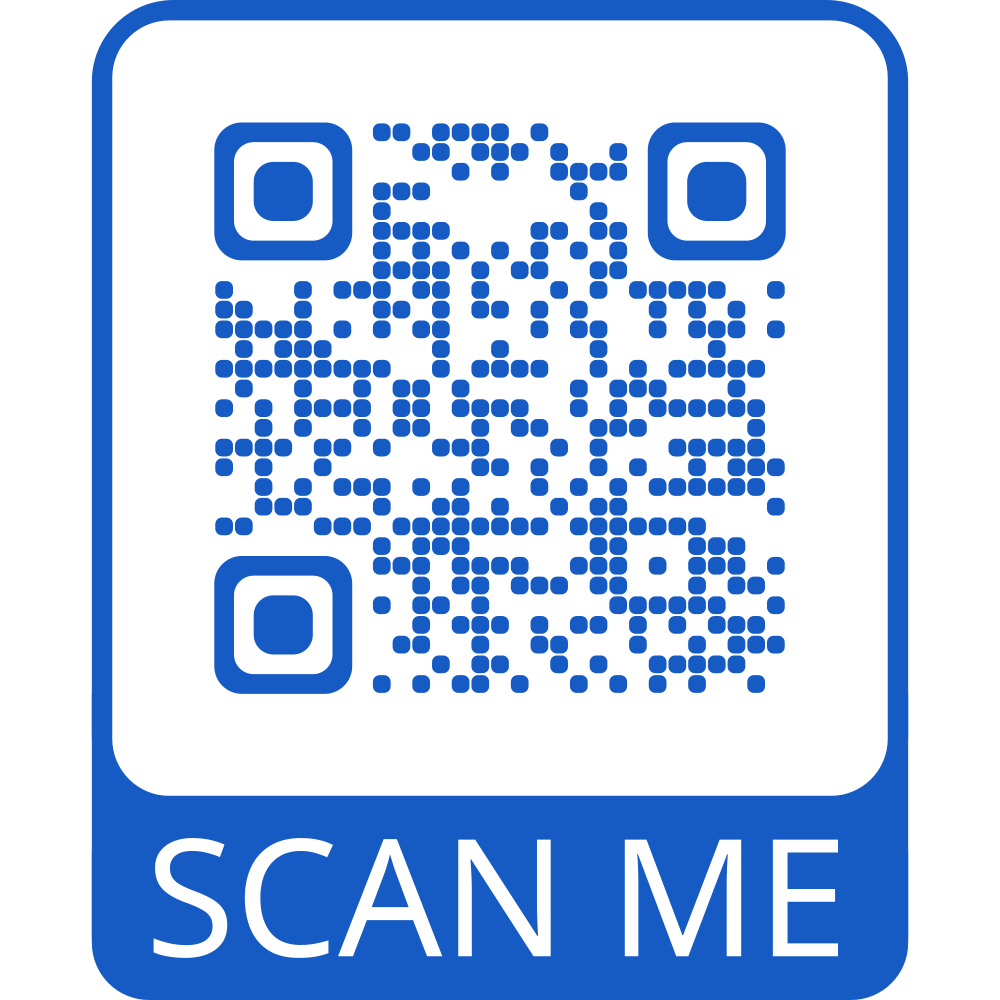
Follow the prompts within the Airwave app to set up your glasses.
Need help?
- Ask Blue (inside the Airwave app)
- Ask Airwave Support (inside the Airwave app)
- Email: support@airwave.us
Using the Glasses
Take a photo
Press the button on the right arm once. You'll hear a ding and see a green flash.
Record a video
- Hold the button on the right arm to start recording. You'll hear "Recording started".
- The white indicator light will light up on the front of the glasses.
- Press the button again to stop the recording. You'll hear "Recording stopped".
- The white indicator light on the front of the glasses will turn off.
If the battery level is low or storage is full, you will not be able to record video.
Pro Tip: Import your videos often — you do not want the recording to stop while you're doing something important. It typically takes 20 seconds to import every 3 minutes of video.
Importing photos & videos into Airwave
- Open the Airwave mobile app.
- Click on the glasses icon on the Airwave Island. If you have media to import, the glasses icon will "wiggle" and show the number of items that have not been imported.
- Click on Import All (you will be prompted to connect to the glasses' Wi-Fi).
- Click on Share to Blue or a channel.
Successful imports of photos & videos will be DELETED from your glasses but will remain in your Airwave media gallery. If you delete the app, all of the photos & videos in your gallery will be deleted. Content that you shared with Blue or a channel will remain in the app.
Pro Tips
Safety Shields
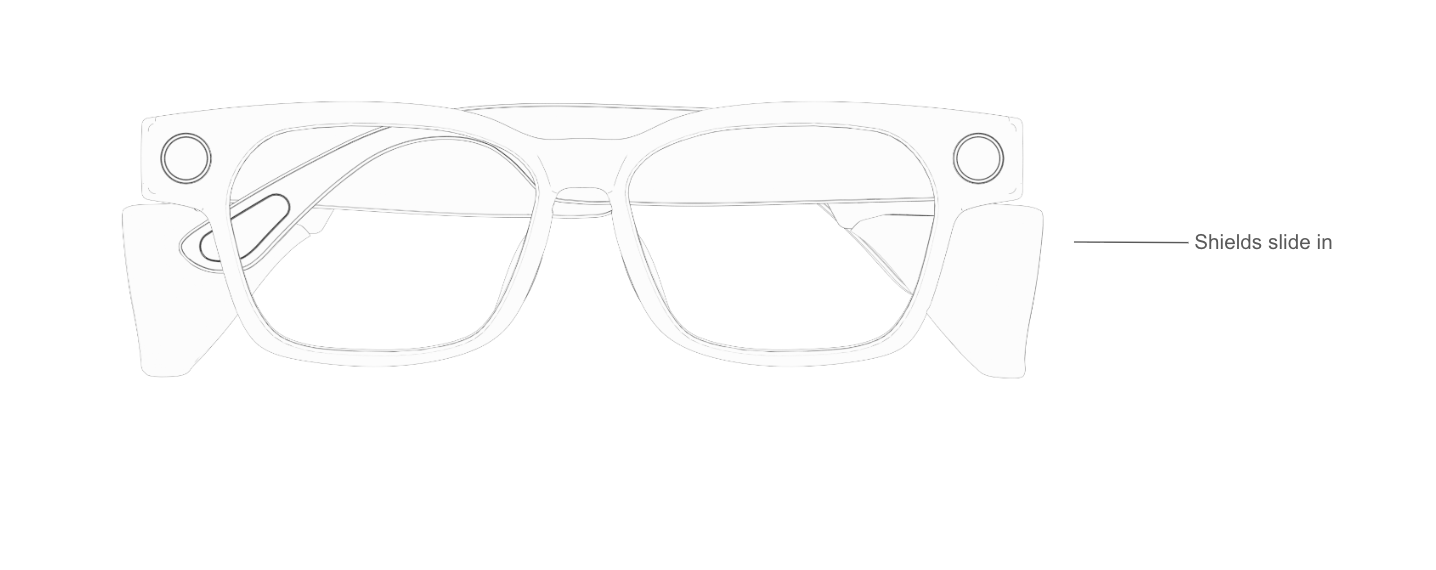
Installing safety shields
- Make sure the glasses and the arms are clean and free of dust or debris.
- Locate and identify the left and right shields.
- Close both arms and line up the groove on each arm with the blade on the matching shield.
- Gently slide each shield on until it fits snugly.
- Check that both shields are secure and don't block the hinges.